How to Enable Compiz and other Advanced Desktop Effects
This posting will walk you though the relatively simple steps it takes to get your Ubuntu setup running all those fancy-schmancy and oftentimes completely useless desktop effects seen on YouTube and a plethora of Digg postings.
First, from a clean install, to enable any type of desktop effects, go to System > Preferences > Appearance, and click the Visual Effects tab once the window pops up. Here you can choose between None, Normal, and Extra.

Then, to download the Compiz-Fusion configuration manager, open up the Synaptic Package Manager. (Alt+F2, gksudo synaptic) Search for 'compiz' and select the compizconfig-settings-manager. Alternatively, you can open up a terminal window and type 'sudo apt-get install compizconfig-settings-manager.'
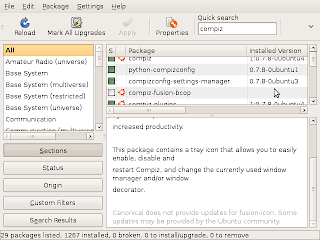
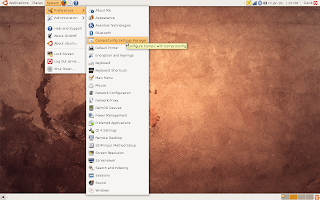
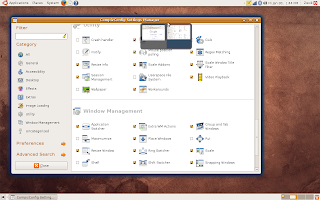
To access the settings manager, you can either download the additional package named 'fusion icon' which will install an icon on the taskbar from which you are able to adjust the compiz settings, OR simply access it through the menu by going to System > Preferences > CompizConfig Settings Manager.
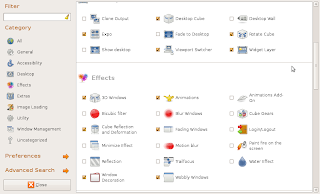
From the settings manager, you are able to select helpful options such as a preferred window switching method, Enhanced Desktop Zoom, ADD Helper (one of my personal favorites) and Window Previews (similar to the nifty new feature in Windows 7). Theres also some fun (and other rather pointless options) such as manifesting your desktop workspaces into a cube or sphere, rotating the sphere, being able to 'write' on your desktop with fire, and other such stuff.
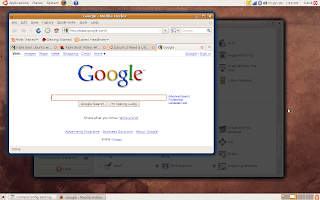
Have fun, and try not to go too overboard!! Below are screenshots from another of my favorite options, Tabbing Grouped Windows. Also notice the dimmed window in the background (yay ADD helper!)

No comments:
Post a Comment