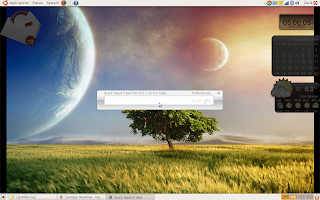
Widget Layer, Screenlets and Google Desktop & Gadgets for Ubuntu
Ahh yes the venerable Mac Widget Layer and detachable Gadgets from Vista and Google. These can be easily installed and customized on any Gnome desktop environment. First, make sure you've followed the instructions from my previous post on Compiz Fusion and have access to the Compiz Settings Manager.
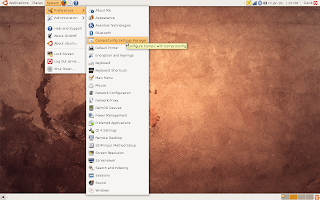
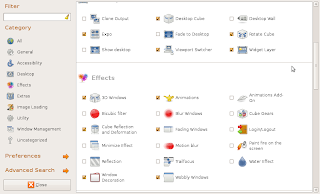
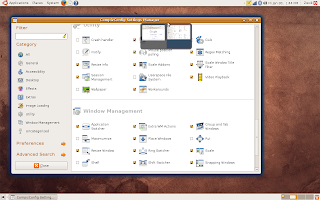
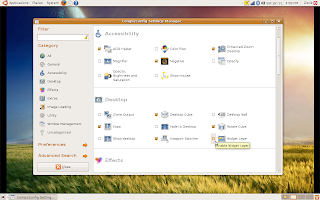
Open the settings manager (System > Preferences > CompizConfig Settings Manager) and under the Desktop heading, and check the box next to the Widget Layer feature. The keyfault keybinding is F9, but this and other features can be adjusted by clicking on the Widget Layer icon.
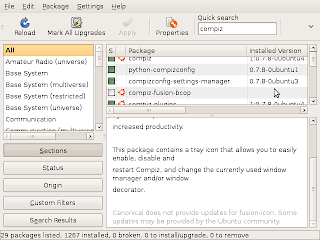
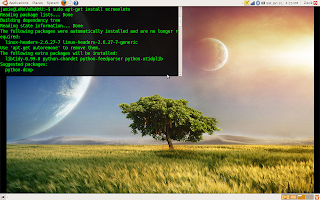
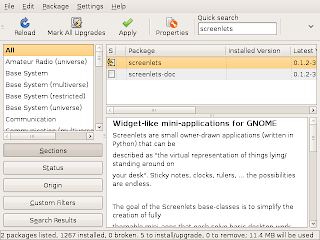
First we are going to install Screenlets to fit onto either the Widget Layer or 'stick' to the desktop. You can either open up the Synaptic Package Manager (Alt+F2) and search for the 'screenlets' package, or key the following into the terminal:
sudo apt-get install screenlets
Then press 'y' when prompted to install. After install, the Screenlets manager is accessible from the Applications > Accessories menu.
You will notice the Screenlets manager is now accessable from the blue screen icon up on the taskbar. From the manager, you can Launch the screenlets of your choice, and once they open, simply right click and under 'Window' you can select either Sticky or Widget. If Widget is selected, press the F9 key to display/dismiss the widget layer. Please note that from the Screenlets Manager, once a screenlet is selected, you can check the 'Auto start on login' box to have that screenlet load load from startup.
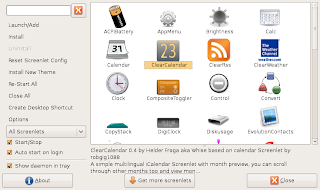
You can also click the 'Get more screenelts' button from the manager, and it will take you to a website to download and install more screenlets. However, as of this writing, the website was offline, but you can go to www.gnome-look.org and there are plenty to be found under the screenlets subsection. To make the screenlets manager itself load at startup, go to System > Preferences > Sessions. Add a new item, and for the command, type:
screenlets-manager > /dev/null
Now we'll move onto Google Gadgets.
If you are moving from Windows/Mac to Linux, you may have Google Gadgets which you are used to, and you'll be happy to know that they are all available for Linux. I should also note that most Google Gadgets can also be run under the Screenlets program and installed through the Screenlets Manager. For awhile, only the gadgets were a functional part of Google Desktop, but the comprehensive indexing program itself was recently made available for the Linux platform.
The Gadgets can be DOWNLOADED HERE
Once the .deb package is downloaded, just double click it to install. To run the gadgets, open the Run Application dialog (ALT+F2) and type:
ggl-gtk
or
ggl-gtk -ns
The second option removes the sidebar, although it is easy enough to make the gadgets float on their own anyway. You can also make this program run from startup the same way you would screenlets, except under the 'command' section you would add the recently aforementioned command code (ggl-gtk).
To add Gadgets to the Widget layer, open up the screenlets manager, select the Widget Layer, and under the 'Behavior' tab, enter the following text next to the 'Widget Windows' feature:
class=Ggl-gtk
Google Desktop
The desktop software can be found HERE. Open the .deb file to install the package.
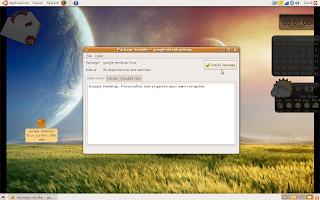
A new Google Desktop submenu will be added under the Applications menu. It will also automatically install the option to start upon login, but to use it immediately, it must be selected from the Applications menu and will be accessible from the taskbar or by pressing the CTRL button twice.
